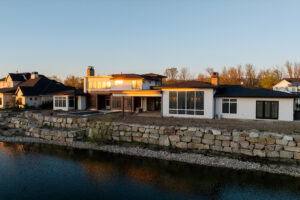
Real Estate Videography
Real estate videography involves creating high-quality video content to showcase properties for sale or rent. It’s a powerful tool that allows potential buyers or renters to virtually tour homes, apartments, or commercial properties before visiting in person. Well-executed real estate videos can highlight a property’s layout, features, and unique selling points, creating an emotional connection and making listings more appealing.
Problems & Solutions
1. Poor Lighting Conditions
- Problem: Real estate properties often suffer from uneven lighting, dark corners, or overly bright areas, making the video unappealing or hard to edit.
- Solution:
- Use additional lighting: Incorporate portable LED lights or bounce lights to illuminate darker areas.
- Shoot during the golden hour: Early morning or late afternoon offers the most flattering natural light.
- Adjust camera settings: Manually adjust aperture, shutter speed, and ISO to balance lighting.
- Leverage window light: Position the camera so light from windows can fill the space effectively.
2. Camera Shake or Movement
- Problem: Unsteady footage makes videos look amateurish and detracts from the property’s appeal.
- Solution:
- Use a stabilizer or gimbal: Tools like gimbals or steadicams can ensure smooth motion during walkthroughs.
- Shoot on a tripod for stationary shots: Tripods are perfect for controlled, cinematic movements.
- Practice steady movements: If handheld shooting is necessary, practice slow and deliberate pans and tilts.
Deliverables
1. Property Tour Video
- Walkthrough Video: A smooth, cinematic walkthrough of the property, often showcasing key features (living areas, kitchens, bedrooms, outdoor spaces).
- Length: Typically ranges from 2–5 minutes depending on the size of the property.
2. Drone Footage
- Aerial shots are often included to provide context, emphasize property size, view potential, or capture nearby amenities.
- Aerial views could feature the property itself, surrounding neighborhood, or local parks.
